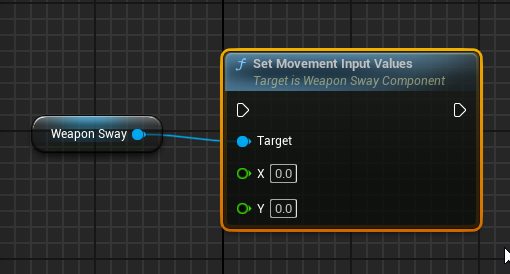
Setup
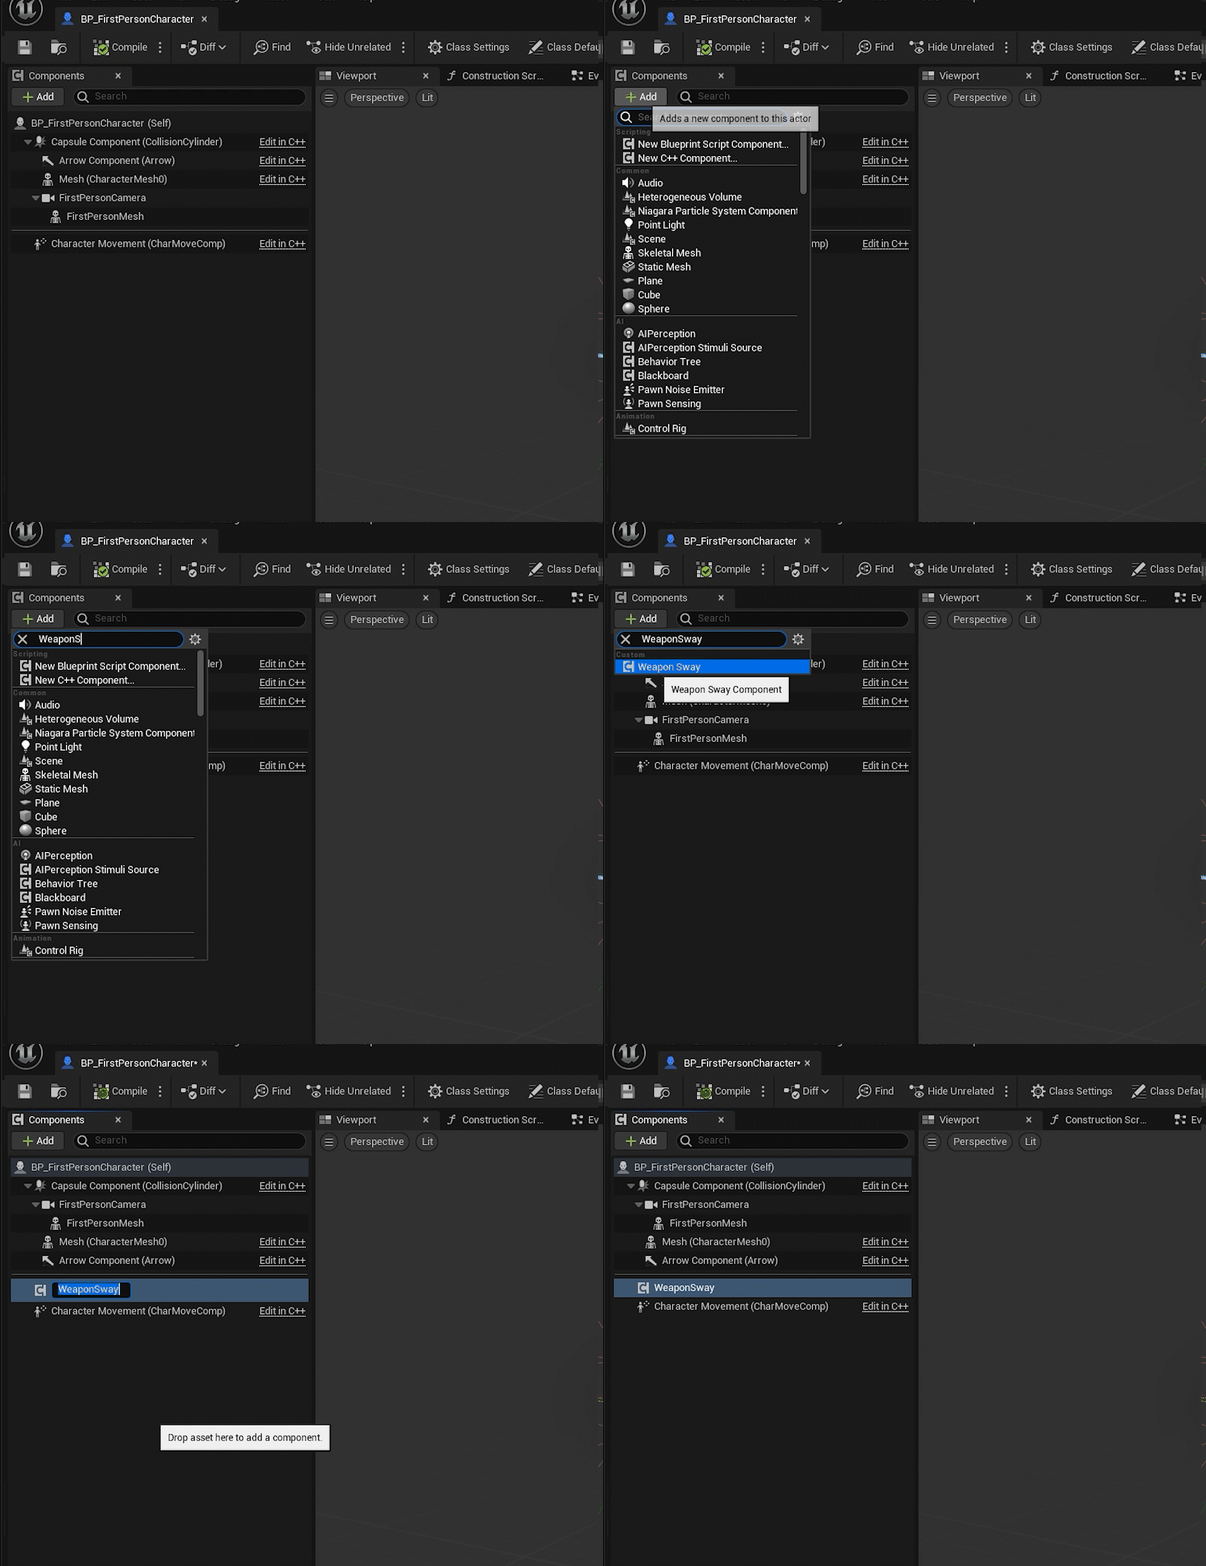
Adding the Weapon Sway Component
Add the Component to your actor
Setting up the Camera Component
Set the camera component that will be used as the source for the sway in your weapon sway component.
Info
If your camera is already in the actor where your weapon sway component is, then setting the specific camera is not explicitly needed, but it's recommended.
Setting up the source component
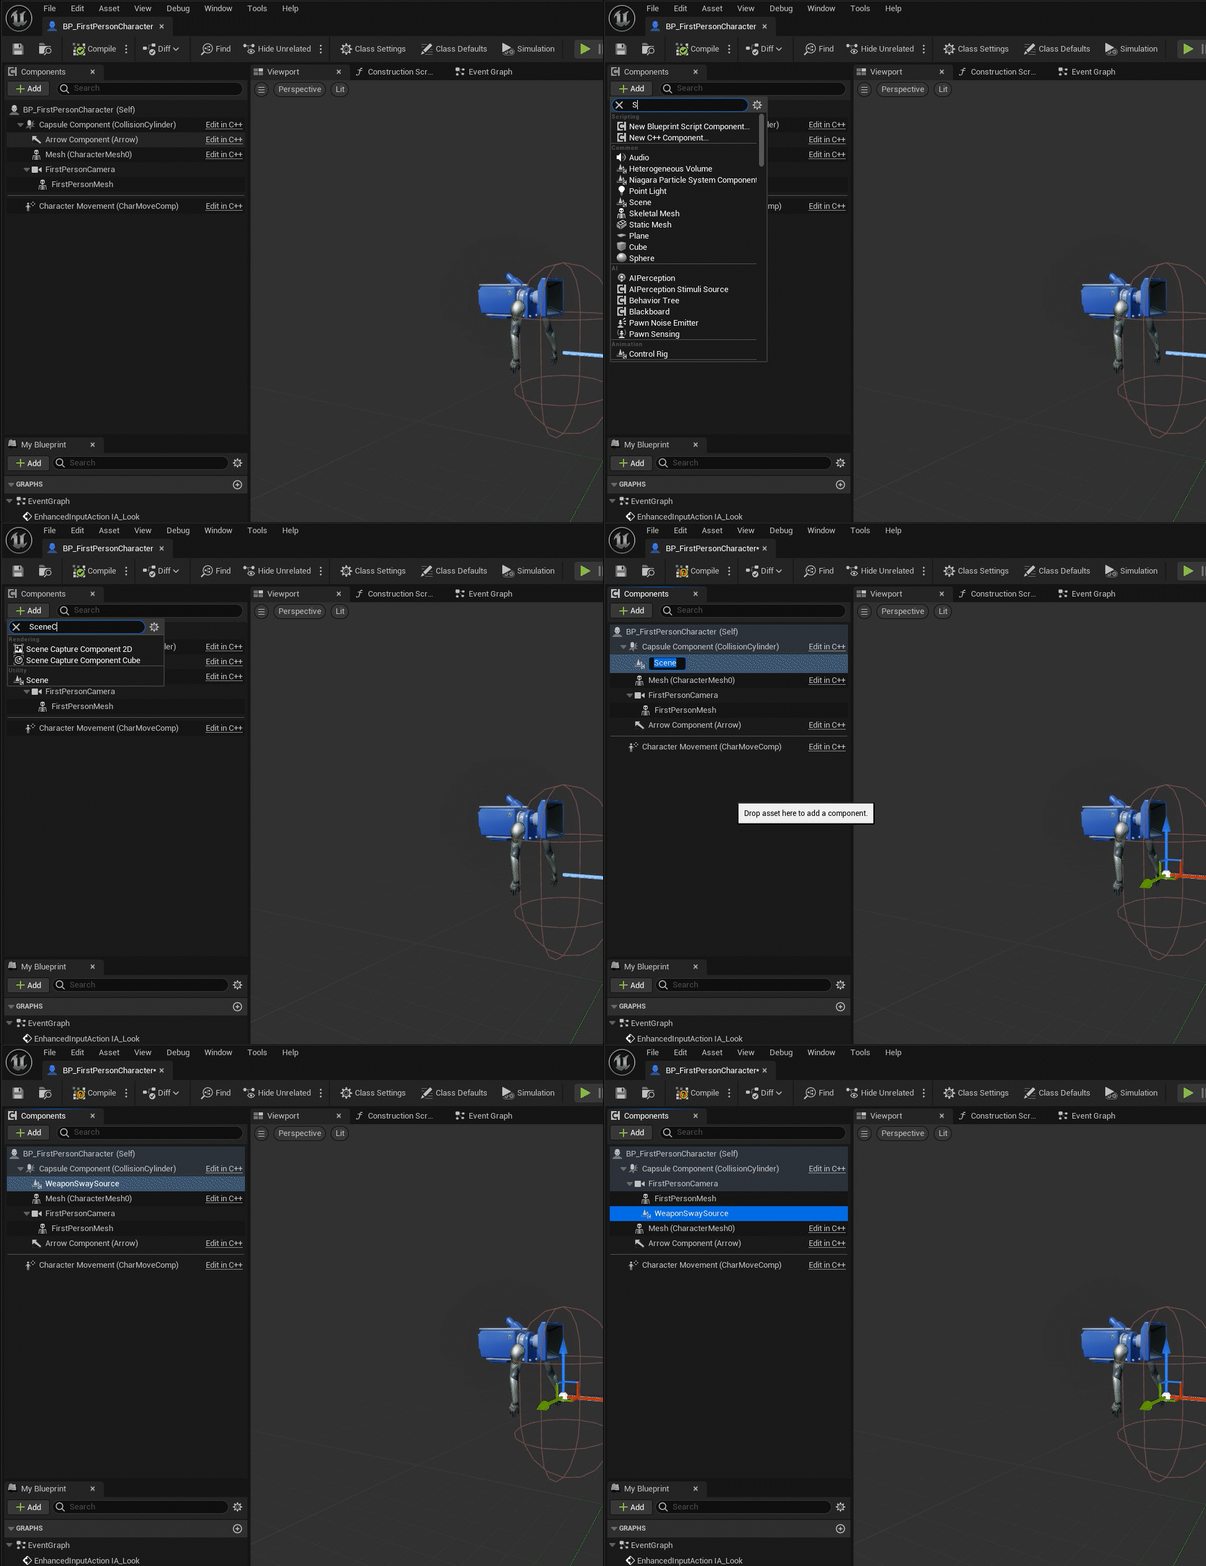
Create the source component
Create your WeaponSway Source, attach it to the camera and attach the First Person mesh to the Weapon Sway Source.
UPROPERTY(EditAnywhere, BlueprintReadWrite)
USceneComponent* WeaponSwaySource;
1 2 3 4 5 6 7 8 | |
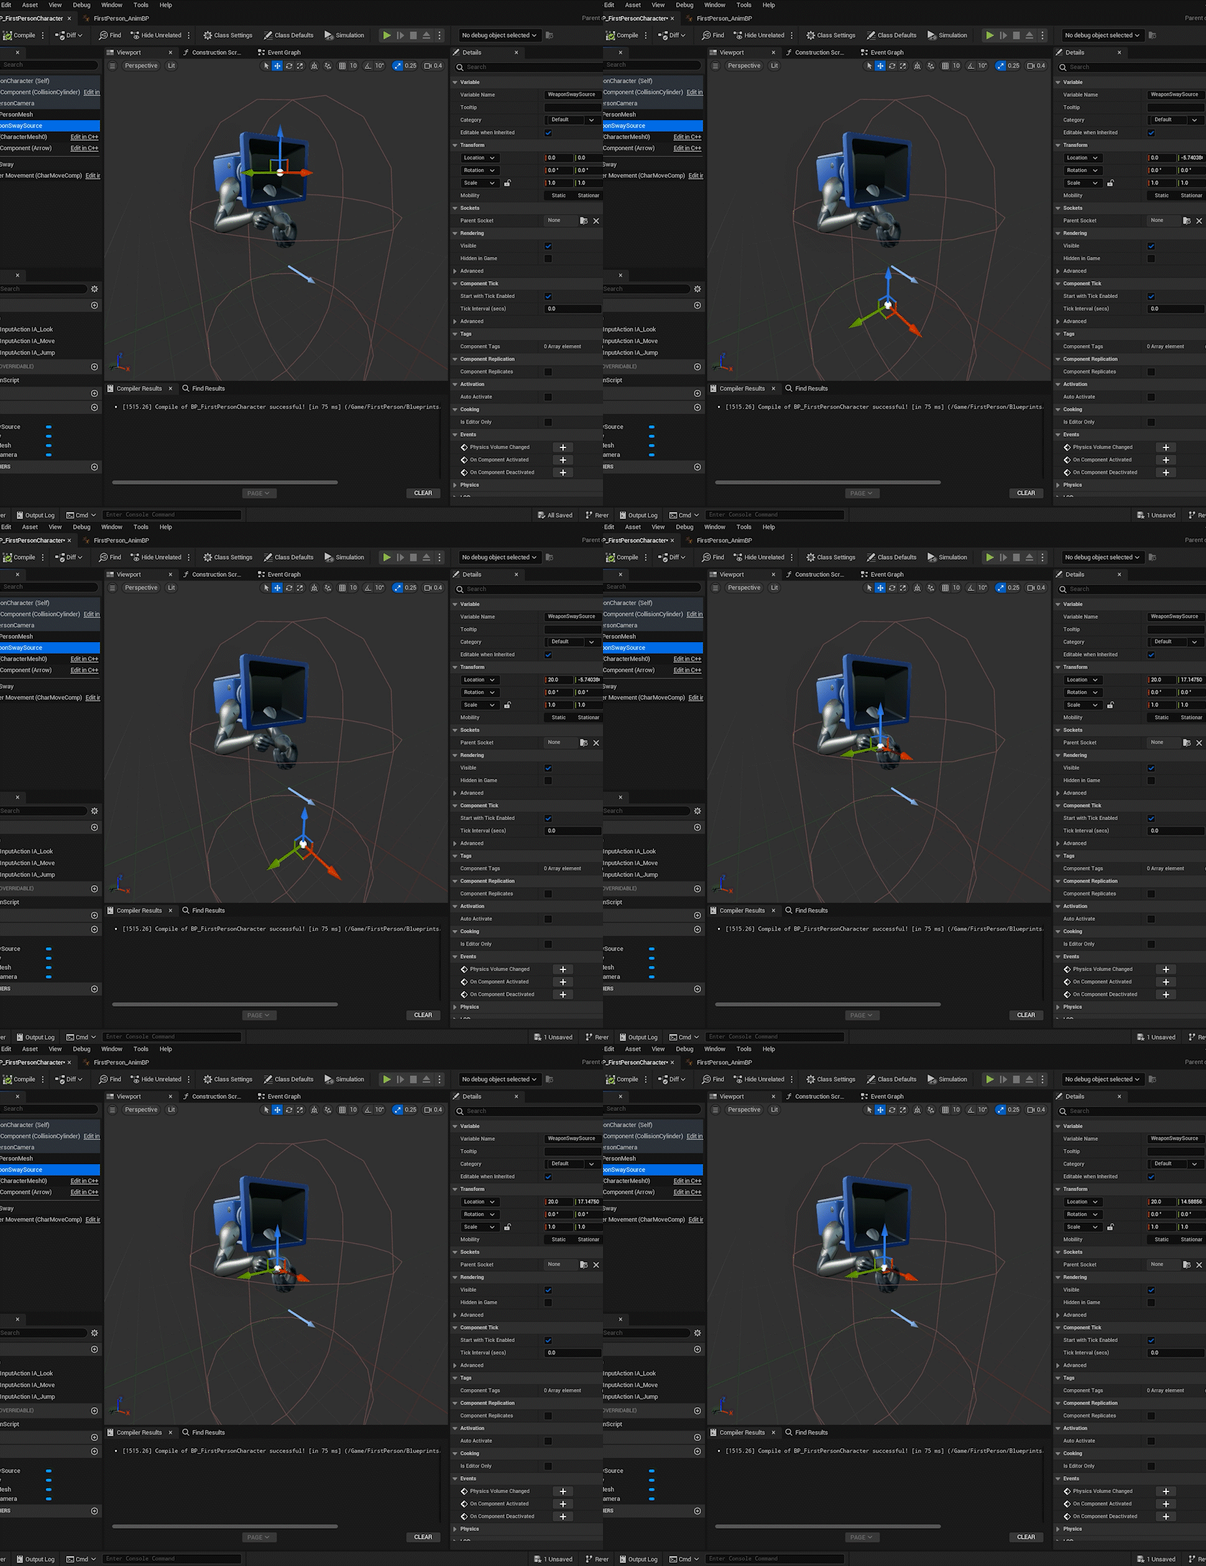
Align the Source Component
For a good result we have to align the source component to the weapon, this will
produce a better weapon sway, this step is important since it will define how
the sway will be applied to the weapon.
Tip
If you've set this up in the C++ First person Example Project, first attach the component to the camera, align it, and then attach the first person mesh
Also here you can find my alignment i used, while developing the plugin:
    Weapon Sway Source : (X=25.956865,Y=11.902303,Z=-22.332232)

    Attached Mesh : (X=-39.512827,Y=-8.192812,Z=-125.445033)
Connect the Source Component
Setting up the movement source
Per default the velocity of your actor will be used as the movement source. But you can use many different sources provided with the plugin, or you can use your custom source. Here i'll show you how to setup the custom one.
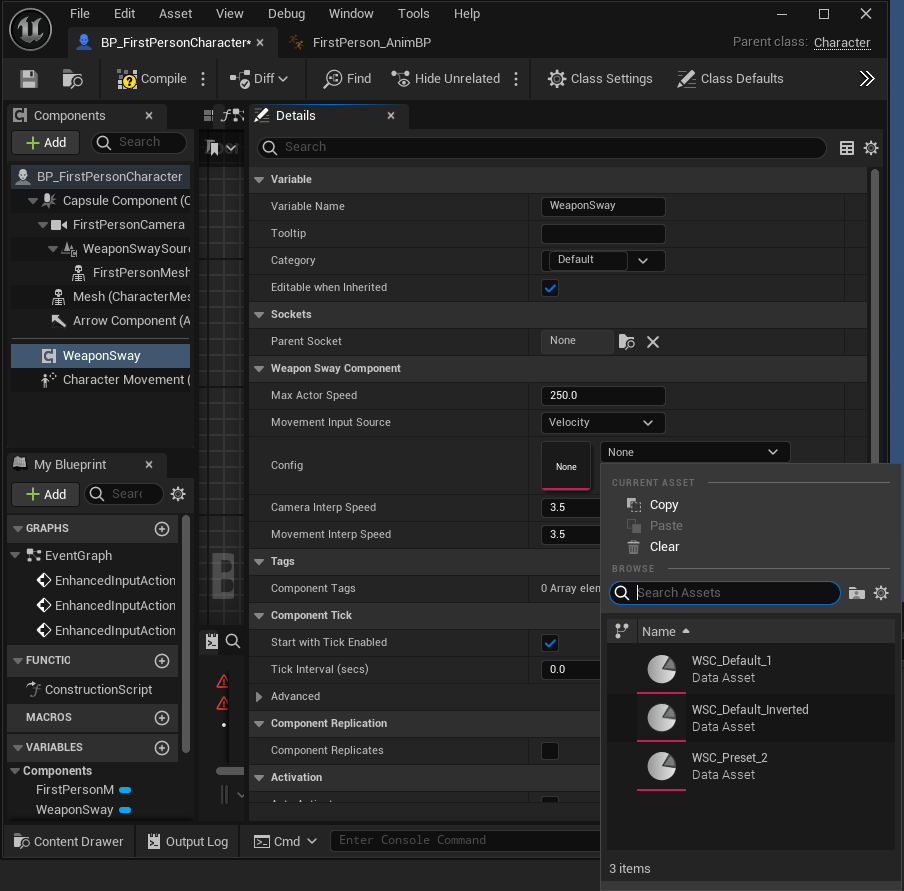
Select your desired Weapon Sway
The last thing left, is to select your desired weapon sway and you're good to go!
Info
If you've setup the weapon sway component in your own project and the directions are not working, please read this section for details.
